Follow me on twitter...
This is a good drill or explanation of how a back 4 works and communicates.
STAGE ONE:
So to begin if an attack was happening down the left wing the back 4 would shift over to the left side or (their right side)
Process....
RB - Presses the attacker
CB - Moves over and sits slightly in behind RB covering the RB position
CB - Moves over to cover the gap from the previous CB
LB - Moves over to basically become a CB
STAGE TWO:
So the defence know who is doing what! the following words are used:
- PRESSING
- COVERING
- SUPPORTING
- BALANCE
PRESSING - This defender is applying pressure to the attacker, and at the same time dropping,delaying and not diving in. His job is to cut off the attackers run and slow him down enough for his team mates to get into a defensive position.
COVERING - This defenders job is to cover the position of the player who is pressing, so for example the RB in the picture has left the back 4 to apply pressure, tho if all the other defenders stayed in their starting positions and the attacker got pass the RB either with a trick or the RB dived in and got his timing wrong, the attacker could have the left wing OPEN to run into.
So the defender who is COVERING adjusts his position to cover the RB's exposed area in defence.
SUPPORTING - This defender shuffles across to support the defence and like the covering defender, helps support the back line by covering the CB next to him who has left his position.
BALANCE - The last link of the chain, this defender BALANCES the back line out, moving across to take the previous CB's position.
STAGE THREE:
Again if the ball were to be switched to where there is a gap in the defence (in the left backs position referring to the previous image)
The defence simply react and be on their toes shifting across the field and follow the same plan...
LB - Presses
CB - Covers LB position
CB - Supports CB
RB - Moves across to balance out the back line
SUMMARY - With this plan running seamlessly the attacker has two options, go INSIDE where he will be confronted by 3 defenders (CB, CB, RB) which is highly risky.
OR to go outside and attack the LB however if he manages to nick it past the LB the CB should be within striking distance to either intercept the ball, tackle, kick it out or to hold him up long enough for the LB to get back into position.
So simply put, wherever the threat is, the back 4 simply move across sacrificing the defender closest to the ball to apply pressure, where the rest simply move across to cover his position, maintain a defensive line and be in a position to defend.
STAGE FOUR:
However if the attack were to come down the middle, then in theory the midfield should of dropped in to kill the threat. BUT for the purpose of this, the first defender would press, and the rest follow suit. Tho this time NO ONE would balance the back line. As both the RB and LB would support the CB's in this venerable position.
To work this drill into a training exercise the following drill would be a good one to use....
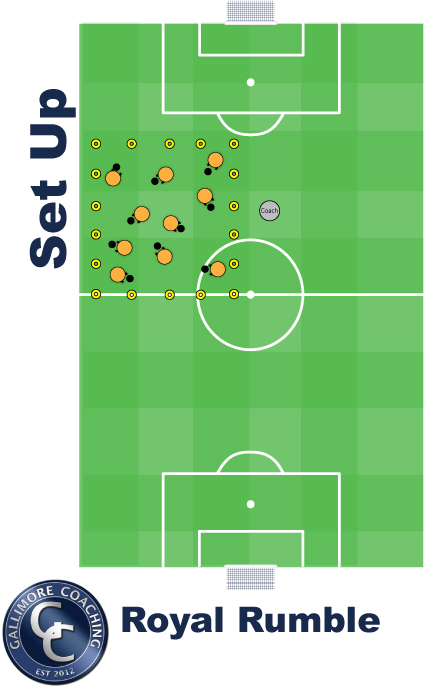
Using your back 4 and four coloured cones placed out either in a full size representation or in a smaller grid to work on timings and positioning at first whichever is easiest.
Coach calls out a coloured cone, and defenders respond.
Introduce defenders to shout out their key words, so the coach knows what there doing but more importantly THEY KNOW WHAT THEIR DOING.
Variations/Progressions:
- Start with the easier options (flanks so the blue cone and orange cone)
- Call out middle cones
- Add an Attacker
- Add two attackers and switch play every so often
- Play full size or reduce the size of the drill area
Coaching Points:
- Defenders on their toes and not flat footed
- Defenders pressing are on the half turn and not square on
- Defenders don't dive in, but drop, and delay and commit as a last resort but try to read and force the play and intercept
- Defenders to always be talking and communicating among each other of their positions and actions
Follow me on twitter..